
The latest release includes:
- Hoylu Branding & Redesign – New Logo & User Interface
- Security – 2 Factor Authentication (Enterprise Users)
- Pull Planning – User Assignments & Multiple Trades per User
- Basic Functionality Updates
- Double-Clicking – New Sticky Notes
- Updated Navigation Bar
- Updated Portals 2.0
June 2022 Release Notes

Hoylu Branding & Redesign – New Logo & User Interface
Welcome to the newly redesigned Hoylu! We’re the same amazing product you’ve come to love and trust – but with a stylish new look!
 As part of our rebranding and redesign project, we’ve launched a new website. Take time to check out the website and discover how Hoylu can work for your organization. You can access our website at www.hoylu.com.
You’ll notice throughout our platform our new logo appears in different colors and styles. Additionally, multiple new themes and workspace icons have been added to your Hoylu Dashboard – and we even launched a new User Menu. We’ll guide you through some the new User Interface changes in this Release Notes document.
Dashboard User Interface Theme
By default, all users now have the new “Light” theme of the Hoylu Dashboard activated. However, users can now select between the “Light” version (new) or a new version of our classic “Dark” style. To select the new version:
1. Click on name icon, which drops down our new “Menu” bar. 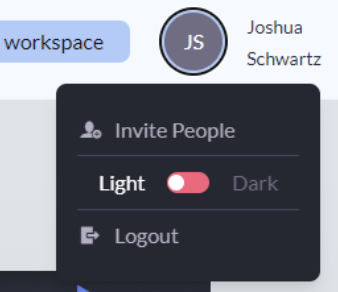
2. From there, click on “Light” or “Dark” to select your desired Dashboard theme.
New User Menu
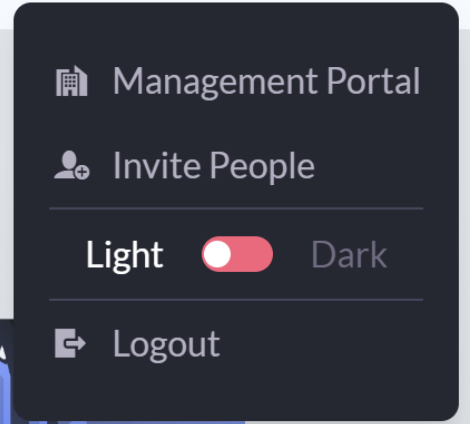
All users have access to the new “User Menu” dropdown via the Dashboard. Depending on your level of access and license type, you may see different options appear.
- Management Portal – Hoylu Enterprise Admins can now directly access the Management Portal via the new user menu. Simply click on “Management Portal” and it will guide you to your organizations Management Portal.
✏️Note: Only Enterprise Administrators will see the Management Portal option in the user menu.
- Invite People – Here you can invite team members to join Hoylu.
1. Click on the name icon, which drops down the new “Menu” bar.
2. Click “Invite People”.
3. In the dialogue box, type in the individuals’ email address(es) that you’d like to invite.
4. Click “Invite” – an email will be sent with the noted information.
✏️Note: Invites will only be sent to email addresses without a Hoylu account.
5. The user has 7 days to accept or decline the invitation.
- “Light” or “Dark” – This feature allows a user to choose between the Hoylu classic “dark” Dashboard user interface, or the new “Light” theme. To toggle between the two, follow the “Dashboard User Interface Theme” instructions above (page 2).
- Logout – This option allows the user to simply logout of Hoylu. To access any Hoylu Workspaces/Modules, or the Hoylu Dashboard, the user will need to sign back in.
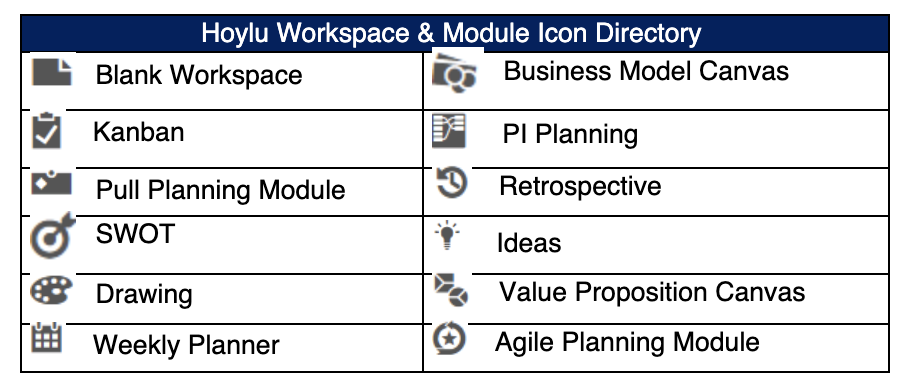
Updated Thumbnails and Icons 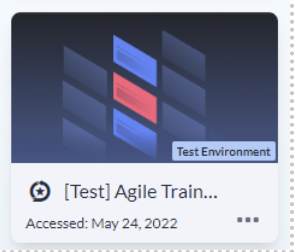
As part of the redesign, we’ve updated the thumbnails associated with our available Workspaces and Modules. Additionally, we’ve added new icons to easily represent the type of Workspace or Module on your Hoylu Dashboard. Below is an overview of the new icons.
In addition to the new icons, they now will indicate when changes have been made to the Workspace or Module. Icons that are highlighted in red indicate a change has recently been made. 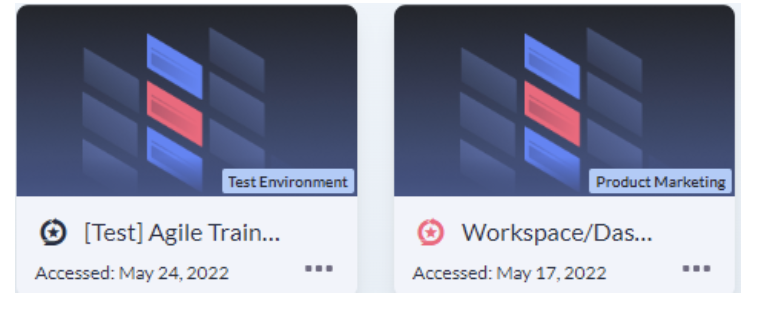
Security – 2-Factor Authentication (Enterprise Users)
In keeping with our commitment to providing a secure environment for our clients, Hoylu has released a 2-Factor Authentication process. Currently, this is only available to Hoylu Enterprise Users. This feature is not automatically enabled and will require setup from your Organization Administrator.
Admin Setup
The 2 Step Verification process will need to be enabled by an org Administrator.
1. Log into your Hoylu Management Portal
2. Select Policies from the Navigation Bar.
3. Scroll down to the bottom of the policies and you will see “Enforce two-factor authentication (2FA) for basic login users.

4. Once enabled, this policy will apply to all basic user accounts that are members of the organization. Users will have to verify their identity with two-factor authentication via an authenticator app or email to successfully log in.
Individual User Setup
 Once the 2 Step Verification process is enabled, all basic users will need to setup their preferred preference for verification – by email or through a third-party authentication application.
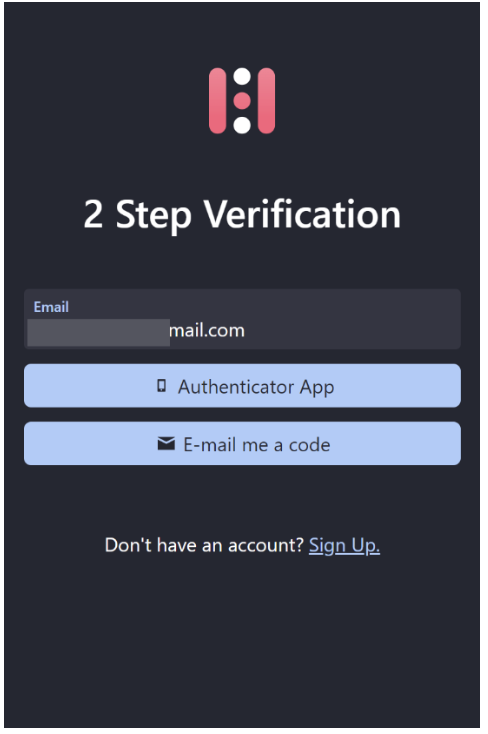
 1. Users will continue to log in as normal. Upon first log-in once the 2-Factor Authentication is enabled users will see a new screen after entering their email and password.
2. Selecting “Email me a code” will require no additional setup, as a code will automatically be emailed to the user. If selecting “Email me a code” please be sure to check your inbox, and junk/spam folders.
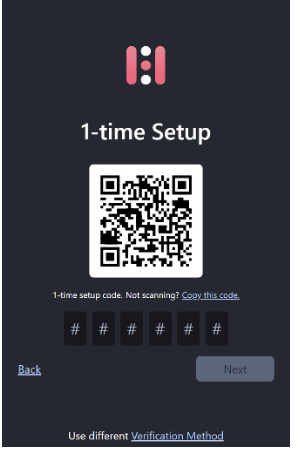
3. If selecting “Authentication App” a new screen will appear with a 1-time setup, as shown below.
4. Users can utilize an Authentication App of their choice, but recommended Apps are:
a. Google Authenticator – Available for Android, iPhone, and iPads
b. Last Pass Authenticator – Available in Android, iPhone, and Window devices.
5. Once the Authentication App is setup, the user will need to scan the QR code displayed on their screen or depending on the App, they may select “Use Setup Key.”
a. Google Authenticator allows you to scan QR code, or you can select “Use Setup Key.” 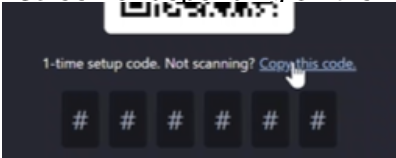
b. If selecting “Use Setup Key” the user will need to select “Copy this code” link found on the 1-time setup screen.
c. Once authenticated, the user will enter the 6 (six) digit code.
6. This setup is a 1-time setup. Moving forward, when logging in, users will need to enter the 6 (six) code found in their Authentication App, or via their Email.
Pull Planning – User Assignments & Multiple Trades Per User
 In the June release, we’ve continued our improvements around our Pull Planning Module and the “Settings” management. Now you can change User Assignments, by Trade, via the “Settings” process. To do so,
1. In your Pull Planning Module, open the Hoylu Toolbox and select the “Tasks” icon.
2. Click on the ![]() icon and select “Settings.”
icon and select “Settings.”
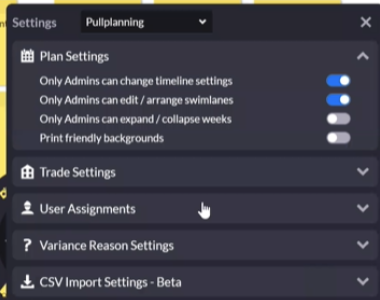
3. A pop-up box will appear where you’ll now see “User Assignments.”
4. Select “User Assignments” and all previous users you’ve assigned to a specific trade will appear.
5. If you want to add new users, you’ll select the “Open Permissions Dialogue” icon![]() .
.
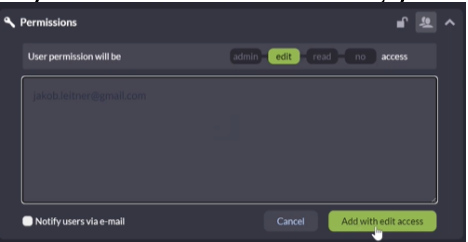
6. The Permissions Dialogue box will appear, and you’ll select “Add Users.”
7. Type in the users email address in the open box and select “Add with Edit Access” (or the access permission you’d like the user to have).
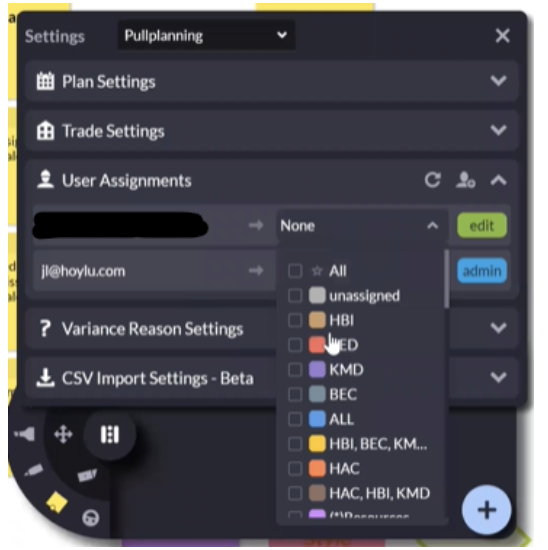
8. The user will be added and appear in the previous “User Assignment” list.
9. From the “User Assignment” list, you can now select one, or even multiple trades for the user. This new feature will save Admins time, as you no longer need to set up a user multiple times, per trade types.
10. Additionally, you can now remove users’ permissions from specific trades. Follow the same steps as noted in step 9 but deselect the trades you’d no longer want the user associated to.
11.  Now, based on user feedback, once removing permissions from a specific user, you can delete the User from the “Permissions Dialogue.” The user will remain in the “User Assignments” list, but they will have slightly different options associated with their user.
a. If the user is no longer in the “Permissions Dialogue” you can remove them from the “User Assignment” list by click on the ![]() icon.
icon.
b. If you want to add the user permissions back, you can select the “Add User” icon ![]() and the “Permissions Dialogue” box will appear. You’ll then follow the steps 7-9 as appropriate.
and the “Permissions Dialogue” box will appear. You’ll then follow the steps 7-9 as appropriate.
Basic Functionality Updates
Double-Clicking – New Sticky Note
Users can now speed up the process of easy note taking.
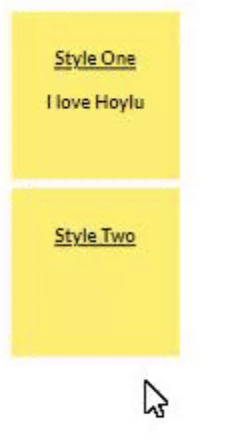
1. Select or add a note, which will open the dialogue box to type in your desired text.
2. If you select Enter on your keyboard, a new sticky note will appear below, with the same settings/styles as the previous sticky note.
✏️Note: You will need to immediately hit Enter on your keyboard to have the new sticky note appear. There is a one second time window to activate this feature.
Updated Navigation Bar
In keeping with our commitment around Accessibility, the June release has focused on the ability to allow mouseovers on elements and consistent font and contrasting. The most notable change for users is the updated “Navigation Bar.”
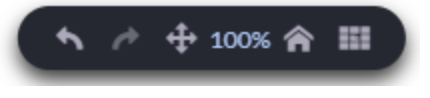
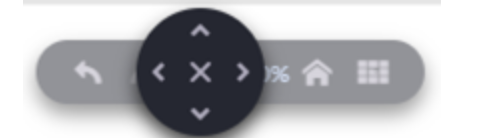
Users can now select the “Move Page” icon ![]() which will allow users to navigate in all four directions (up, down, left, and right). Note: Previous keyboard shortcuts remain.
which will allow users to navigate in all four directions (up, down, left, and right). Note: Previous keyboard shortcuts remain.
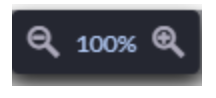
Additionally, you can select the “Change Zoom” icon ![]() which will allow users to zoom in and out via the in and out indicators. Note: You can continue to use your mouse wheel to zoom in and out of your Workspace or Modules.
which will allow users to zoom in and out via the in and out indicators. Note: You can continue to use your mouse wheel to zoom in and out of your Workspace or Modules.
Portals 2.0
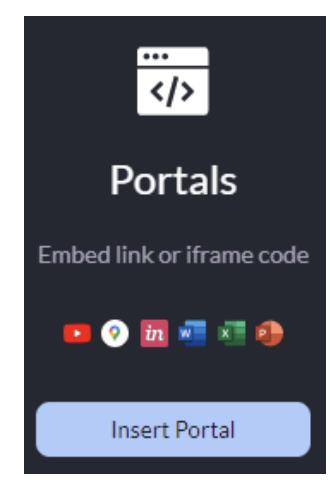
Based on user feedback, we are now exposing portals as one category, with noted icons of the supported types of portals. Currently supported portals include:
- YouTube
- Google Maps
- Invision
- Microsoft Word
- Microsoft Excel
- Microsoft PowerPoint
To add portals to your Workspace or Module:
1. Click on the “Insert to Workspace” icon ![]() found on the upper right menu bar.
found on the upper right menu bar.

2. The “Portals” box will appear alongside the “Drag & Drop” and “Integrations” categories.
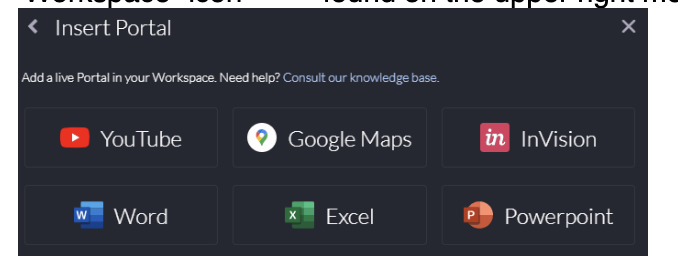
3. Select “Insert Portal” and a pop-up box will appear with the available supported Portals. 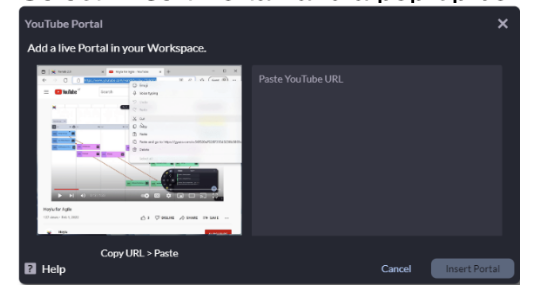
4. Select the “Portal you’d like to embed into your Workspace or Module. A new pop-up box will appear.
5. Paste your URL or Embedded code and select “Insert Portal” – and the live portal will now appear in your Workspace or Module. Move portal to your desired location.
✏️Note:
- You can continue to embed the iframe code directly into the Workspace or Module, as previously designed.
- Old portals attached to textboxes remain. If loading old Workspaces, they will still appear. However, you will not be able to create any new portals in the old format. If you want to make changes to them, you’ll need to update them using the steps noted before.
Comments
0 comments
Article is closed for comments.